In the military, to show up looking neat and sharp, you need to iron uniform shirts. The laundry and dry cleaning business can get it done for you, but it is also easy to do on your own with some practice and the proper equipment.
Read this to learn how to iron military creases in shirts!
Table of Contents
- Step-By-Step to Iron Military Creases in Shirts
- What To Prepare
- Step 1: Know Where the Creases Are Supposed to Be
- Step 2: Prepare Your Steam Iron
- Step 3: Prepare Your Ironing Station and Shirt
- Step 4: Iron the Shirt to Remove Wrinkles
- Step 5: Iron the Yoke and Collar
- Step 6: Iron the Back of the Shirt
- Step 7: Continue Ironing the Back of the Shirt
- Step 8: Iron the Front of the Shirt
- Step 9: Iron the Buttons & Buttonholes
- Step 10: Iron the Sleeves
- Step 11: Finally, Make Last Touches
- FAQs
- Conclusion
Step-By-Step to Iron Military Creases in Shirts
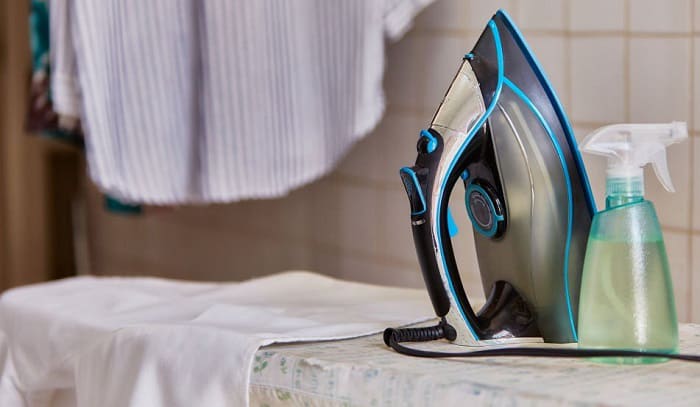
What To Prepare
- Steam iron
- Water
- Starch
- Cotton fabric
- Shirts
For military press uniforms, you will need to know how to iron creases in shirts. We will walk you through the steps in this step-by-step guide. Read closely and follow along!
Step 1: Know Where the Creases Are Supposed to Be
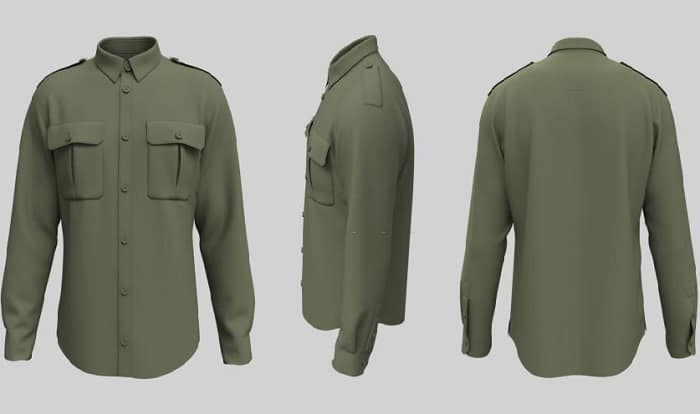
This is the first step to ironing creases in shirts. There are five standard shirt creases on the front and back of the uniform.
One of the three in the back is in the exact center, while the other two are of equal distances from the center. You will also notice the ones in the front go down along with the pocket buttons to the hem from the shoulder seam. There is also a crease on the fold on top of the sleeves.
If you iron a Guess military shirt or any other uniforms made of cotton and nylon blends, the creases are on similar spots.
Step 2: Prepare Your Steam Iron
Take out your steam iron and fill it with water. When you do this, make sure the steam iron is unplugged. Use a cup for filling, and do not exceed the MAX water line. Also, you should use temperature-room distilled or filtered water.
- Note: Each steam iron will have its own instructions. So, make sure you follow your unit’s manual closely. In most cases, though, there will be a chamber that you can detach, fill with water, and reattach.
Adjust your steam iron to a temperature that suits the fabric of your shirt.
- If you have a shirt made of 100 percent cotton, use the high-temperature setting.
- If your shirt is made of synthetics, a low-temperature setting will suffice.
Step 3: Prepare Your Ironing Station and Shirt
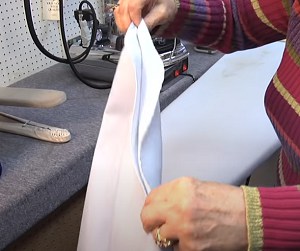
For this step, you will start by setting up your ironing board. Prepare a can of spray starch and keep it within arm’s length. In addition, have a piece of smooth, cotton fabric ready.
- Then, unbutton your shirt and set it on the ironing board.
- Spray the front side with a light coat of starch. Then, flip it to spray another coat of starch on the back. While doing this, allow your steam iron to heat up.
- Lay your shirt on the ironing board again and spread the sleeves out. Make sure you align the narrow end of the ironing board with the back shoulder of your shirt.
Step 4: Iron the Shirt to Remove Wrinkles
With moderate pressure, slide your iron from top to bottom. This should get rid of all the wrinkles. When ironing the front, use the narrow, pointed end of the iron so you will not snag on the buttons.
For extra stubborn wrinkles, turn on the spray function and mist the wrinkle with water before ironing.
Step 5: Iron the Yoke and Collar
Begin ironing the yoke and collar. If you do not already know, the yoke is a horizontal piece that makes up the top of the back. It runs from one shoulder seam to the other and is not creased along with the remainder of the back of the shirt.
Not all military shirts have yokes, so if yours is missing one, do not panic. Just proceed with ironing the collar from the center of the collar out to the tips.
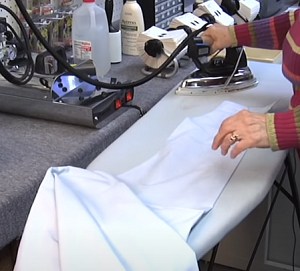
Step 6: Iron the Back of the Shirt
- Lift your shirt up by the back and find the center. You can fold the shirt so that the side seams align. By doing this, you will get the first crease. Make sure that it is vertical.
- Press down on it, spray it with starch, then steam it and iron it. When pressing it, apply more pressure than you did in step 4.
- Move the iron slowly to create a crisp crease. If your shirt is white or shiny-looking, safeguard it with the fabric you have prepared.
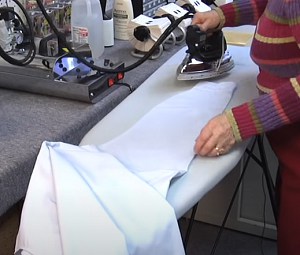
Step 7: Continue Ironing the Back of the Shirt
Find the location of the next crease by splitting the distance between the center crease and armholes. You can hold the shirt up by its tail and yoke, so the side seam lines up with the center crease easily.
Press the fold you get parallel to the center crease. Then, do the same for the other side of the back of the shirt.
Step 8: Iron the Front of the Shirt
From the seam at the shoulder to the hem through the buttonhole on the pocket, fold the front of the shirt. Again, check that the fold you make is vertical.
Press down on the fold, as with the previous steps, and use generous amounts of starch and steam. Then, repeat for the second crease in the front.
Step 9: Iron the Buttons & Buttonholes
At this point, you only have to iron the buttons, buttonholes, and sleeves left. Start with the front. Press hard on the buttonholes, and do not forget to go between the buttons.
Step 10: Iron the Sleeves
Now, you will iron the sleeves. Simply run it flat and press the crease into the top as you go.
Step 11: Finally, Make Last Touches
Scan your shirt and touch up any unsatisfactory areas. However, be careful not to iron over the creases.
FAQs
How do you press a shirt military style?
You can follow the process outlined above to press your military-style shirt.
You would use a steam iron, some starch, and an ironing board rather than a uniform press machine. The latter is used for another "pressing" process: printing designs.
What does an Army dress blue uniform setup look like?
The uniform is dark blue. There are some golden details on the sleeves and in pants. Military personnel would wear a white button-up on the inside, but when looking at the whole attire, only the collar is visible.
What does a Navy dress white creases look like?
As stated above, the military creases in Navy uniforms also have wrinkles in the center back and other two on both sides of the center. You will also notice the front ones aligned with the pocket buttons to the hem from the shoulder seam. There can also be creases on the fold on top of the Navy uniform sleeves.
Conclusion
Those are easy steps on how to iron military creases in shirts and pants. Once you do, you will be able to do it easily and quickly. It is rather similar to how we iron our shirts. Once you master the art of military press shirts and pants, share with us how long it took in the comments!

I am Everett Bledsoe, taking on the responsibility of content producer for The Soldiers Project. My purpose in this project is to give honest reviews on the gear utilized and tested over time. Of course, you cannot go wrong when checking out our package of information and guide, too, as they come from reliable sources and years of experience.