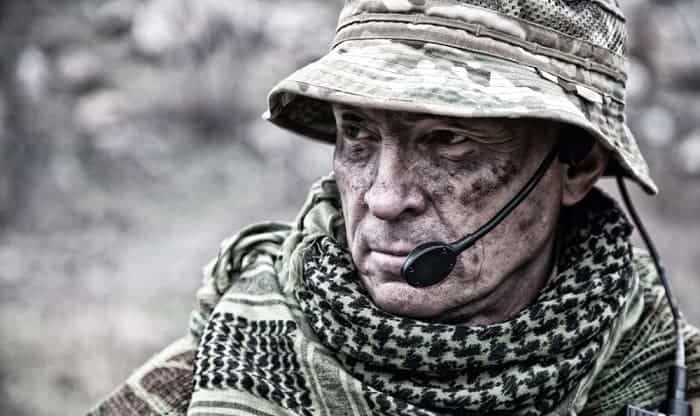
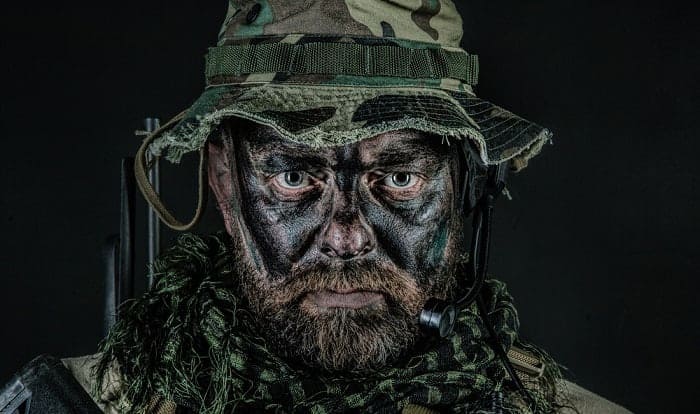
Among the many military gears available, there is the shemagh, also known as a ghutrah or keffiyeh—a wrap typically worn around the neck like a scarf. It is very common in arid regions to shield the wearer from direct sunlight, as well as blown dust and sand.
Military forces worldwide, including the British, Australian, United States, and Middle Eastern units, issued it as a standard garment many decades ago for its excellent functional use in all types of environments. In particular, it has a ubiquitous presence in the Vietnam, Iraq, and Afghanistan wars.
It is also handy for outdoor enthusiasts, survivalists, and bush-crafters. So, regardless of whether you are a service member, it is important to know how to tie a shemagh around neck. Use this article to learn ways to tie a shemagh, including the classical, tactical, combat combo, scarf, bandana, and cowboy approach.
For details on each, read on!
Table of Contents
Shemagh 101: Uses & Purposes
Before we delve into the different methods and steps in tying a shemagh, it is useful to know some fundamental information about its functionalities:
The shemagh can be your most reliable companion for protection from elements. In the event of an explosion, earthquake, or fire, this can shield your most sensitive body parts: head, face, neck, shoulders, and upper arms.
You can use the shemagh to combat harsh weather conditions involving the sun, wind, and snow.
- For direct sunlight, use it to minimize the chances of heat strokes, sunburns, and dehydration.
- For strong wind, use it to regulate body heat and shield against debris, dirt, and dust.
- For freezing snow, use it to counter frostbites, cover up bare skin, and keep warm.
A shemagh can be a trail marker, emergency flag, fire-starter, or even a weapon if properly used. For details on each, read this.
Transforming your shemagh into a bandage, tourniquet, or sling is also possible when first-aid is needed, and standard equipment is not available. Given its multi-functional nature, the shemagh can also be versatilely used as a split tie or knee pad to address injuries.
In other cases, a lack of supplies and resources can be filled in by your shemagh. It makes a good impromptu pillow, blanket, rucksack, and even water collector or filter.
Shemagh 101: Selection
Choosing the right shemagh is just as important as tying it correctly. Therefore, when making your selection, do not forget to consider the following factors:
- Size: Typical military shemaghs are 42″ by 42″. However, there are many sizes that you can choose from. Larger ones are preferred if you intend to use them for more than just one purpose.
- Weight: As surprising as it may seem, shemaghs vary by weight. Some are lighter than others. A heavier shemagh is more helpful in dealing with cold, winter conditions. But a lighter shemagh is better for hot, summer days.
- Durability: You want a high-quality and durable shemagh that you can rely on, especially in the military context. So, do not skimp on material or craftsmanship—always prioritize durability.
- Comfort: Your shemagh should help you, not weigh you down. So, look for ones that maximize comfort. Naturally, with a comfortable shemagh, you will perform better.
- Color: In the military, there are times where it is necessary to stay hidden. Thus, if you know that you will be using your shemagh for military settings, it is recommended that you choose neutral or camo ones. However, if you are wearing a shemagh for aesthetics, you may want other bold colors.
Shemagh 101: Tying
There are many ways to wear a shemagh around your neck. Below, we have curated the four most common methods.
The Classic Approach
- Hold your shemagh and make a triangle out of it.
- Position the folded edge over your forehead, covering it.
- Then, shift it left or rightwards to the center of your forehead and check that both ends are equal.
- Take the end of the right side of your shemagh towards the left and pull it over the left shoulder, placing it under the chin.
- Similarly, take the left side of your shemagh and pull it over your face to the right. Check that your nose and mouth are concealed.
- Know the two ends of the shemagh behind your head. Do this carefully and tightly so that when you move, it does not slip off. However, it should not be too tight that breathing is restricted.
- Make any final adjustments to ensure that it is comfortable.
The Tactical Approach
- Begin with the shemagh opened in a full square.
- Turn it into a triangle by folding it in half.
- Hold it above and over your head with the folded edge on your forehead, in the middle.
- Then, shit a bit to pin a point three-quarters along the folded edge to your forehead. One side should be longer than the other.
- Pull the shorter side under your chin and behind to the back of your head, using your right hand.
- Pull the longer side across your face and wrap it over your head by going towards the shorter side, using your left hand.
- Wrap the longer side over your head until it sees your left end.
- Secure the ends with a just-tight-enough knot, and make sure that it will not fall apart.
For more detailed visual guidance, watch this video by Greek Stewart with Willow Haven Outdoor.
The Combat Combo
- As with the previous method, start by folding your shemagh into a triangle.
- Drop the shemagh over your head, particularly positioning the folded edge over your forehead. It should be between your hairline and eyebrows.
- Shift the shemagh so that more of the material is on the right side.
- Do the same steps as the above method, pulling the shorter side under your chin and up to the back of your head, concealing the entire left side.
- Wrap the longer right side across your face to cover up the nose and mouth while still holding the left side in the previous step.
- Continue wrapping it with an over and up movement until the edge is completely draped over your head and the ends meet on the opposite side.
- Know the two ends together where they meet to secure the entire shemagh in place. The ends can be tucked in on the sides for added security.
The Scarf Approach
- Turn your shemagh into a triangle.
- Wrap the folded edge over your nose and mouth.
- Check that one corner of the triangle covers your face while the other covers the sides of your face.
- Feed the ends through to the back of your neck, covering your shoulders, and secure with a knot.
- Then, shift the knotted ends to the front of your chest, with the loose portion on each shoulder, respectively.
- To complete, gently pull the folded edge that was previously on our mouth and nose down. It should fall casually into a scarf-looking apparel.
This approach is a good option if you want to look fashionable while protecting your neck and shoulders.
The Bandana Approach
Repeat the first three steps of the above method. Then, proceed as follows:
- Overlap the left and right corners of your shemagh behind your neck but do not knot them.
- Then, shift to bring them to the front of your chest and cross them once more to bring them back behind on your neck.
- Know the ends to secure.
The Cowboy Approach
Take the same first four steps in the bandana approach. Then, continue with the following:
- Bring the corners back in front and cross them on either shoulder before tying them into a knot.
- Tuck the loose portion of the shemagh inside your top to look tidy and professional. Leaving them untucked is an option if you want to look more casual.
- Pull the folded edge on your nose and mouth down, dropping gently on the neck and chest area.
Conclusion
So, there you have it! You should now know how to tie a shemagh around neck. There are at least six methods outlined in this article for your reference.
You should also be aware of the different ways you can put it to use, and what you should consider when getting one. If you have any other questions or thoughts, let us know in the comments!

I am Everett Bledsoe, taking on the responsibility of content producer for The Soldiers Project. My purpose in this project is to give honest reviews on the gear utilized and tested over time. Of course, you cannot go wrong when checking out our package of information and guide, too, as they come from reliable sources and years of experience.


