
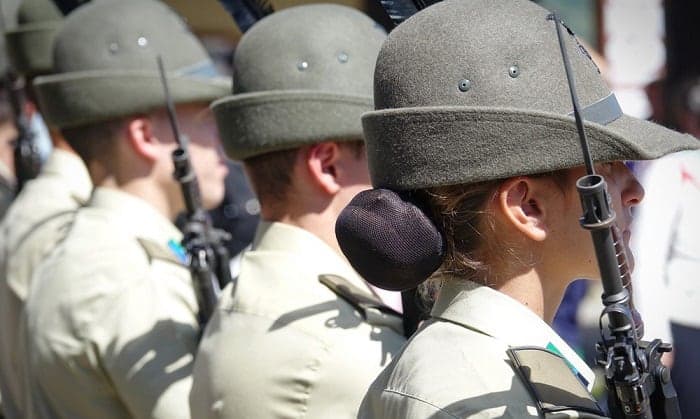
Knowing how to make a military bun is essential when it comes to enlistment preparations. You do not want your hair to get in the way during training or missions. Leaving your hair down is not an option, and you WILL get yelled at. So, if you do not yet know how to do a military bun, learn it now.
In this article, we will show you two common methods for military hair buns: with and without a sock. For the step-by-step instructions, continue reading. By the end, you should be able to master the art of tight hair buns!
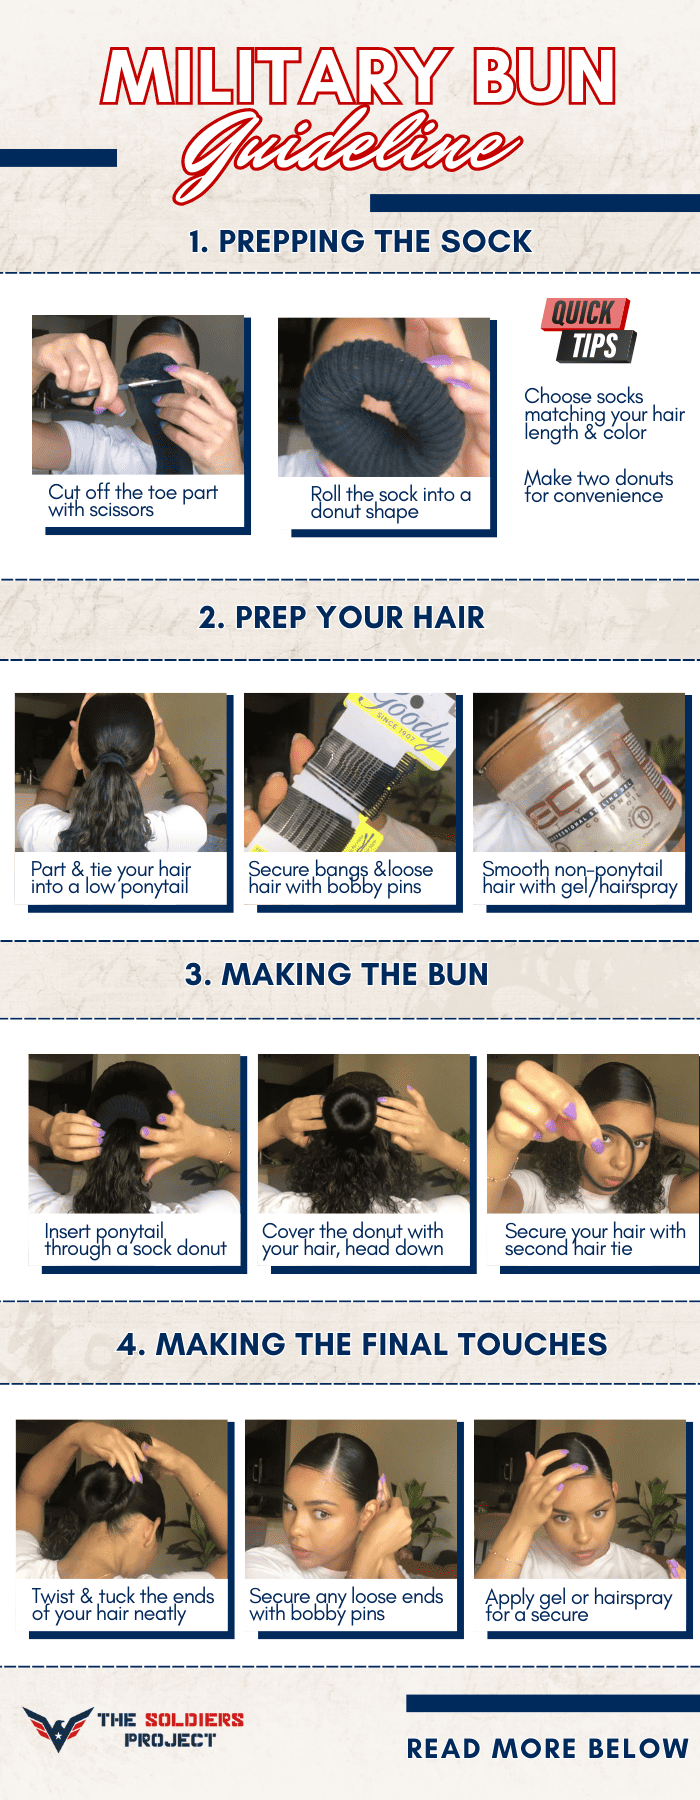
Table of Contents
How to Make a Military Bun with a Sock (Short Hair)

This is often also referred to as a sock bun. It is particularly ideal if you have short hair because the sock provides support. Nevertheless, even for long hair, it has all of the qualities of a good military bun: is sleek, professional, easy and quick to do, and stays in place. Plus, you do not need a lot of fancy hair-styling tools. What more can you ask for?
Gather the following:
- A pair of socks
- A pair of scissors
- A comb or hairbrush
- Two elastic hair ties
- Several bobby pins
Step 1: Prepping The Sock
First, you will work with the socks. If you have long hair, you want a corresponding long pair of socks. On the other hand, if you have short hair, you want a short pair of socks. I have always used military-issued black dress socks. They are stretchy but thick enough for the job.
However, you can also buy pre-made sock buns online or in person. They are relatively cheap, so you do not have to worry about draining your wallet. You should also try to choose socks that are the same color as your hair. This way, even if you have thin hair, any unconcealed parts will not stand out too much.
Start by slipping on one of the socks. Then, roll it from the top down towards your ankle. Remove the sock from your foot while still keeping it rolled up. Using the pair of scissors that you have prepared, cut the toe part off the sock. Complete by continuing to roll the sock into a full donut shape.
I suggest that you make two of these sock donuts so that you have one always ready in case the other acts up. This way, you will also not be left with a single useless sock.
Step 2: Prepping Your Hair
Second, you will work on your hair. If you want to part your hair, do this. Then, use an elastic hair tie to put your hair into a ponytail. Make sure you have done this tightly. The hair should drop around the nape of your neck. It should not be too high since you will need to wear a hat/cap.
If you have bangs, use bobby pins to secure them. If you are like me and have a lot of baby hair that falls off loosely, tuck them away with bobby pins as well. Smooth the hair that is not in the ponytail with gel or hairspray.
Step 3: Making The Bun
Third, you will work on the sock with your hair. Feed the hair from your ponytail through the sock donut that you have made in the first step. Slide the donut all the way up to the part where your ponytail is secured with an elastic hair tie.
Then, flip your hair over and spread it over the sock, making sure that it is covered completely. Your head should be down during this step. Hold your hair in place with another elastic hair tie. Again, ensure that it is tight.
Step 4: Making The Final Touches
Lastly, you give your hair the finishing touches. Twist the ends of your hair and tuck them neatly under the bun. I suggest that you begin at one spot, then move in one direction, clockwise or counterclockwise, around your entire bun. Make sure that all of the small sections of your hair are twisted together. They should no longer be in sight.
Any loose ends that remain, use bobby pins to hide them away. Finally, gel out your entire hairdo or use hairspray. This will keep it from falling during tough training with a lot of movements.
So, there you have it! Only four steps to a good army bun.
You can also watch this tutorial on how to make a military bun for short hair, which uses a pre-made sock bun:
Military Bun for Long Hair: Without a Sock
This is a donut bun designed for long and thick hair. Why? Because you have more to work with and do not require support from a sock. If you have short hair, this may be difficult and take a while to master. But you never know if you do not try! So, if you want a military bun without relying on a sock, read on.
Step 1: Prep Your Hair

Brush it thoroughly with a comb or hairbrush, making sure that there are no tangles. Then, soak your hair. Use a towel to dry slightly. Your hair should be damp but not dripping wet or completely dried. If you do not have time to hit the shower and soak your hair, use a spray bottle to dampen it. To finish, run a comb or hairbrush through your hair to remove all the remaining bumps.
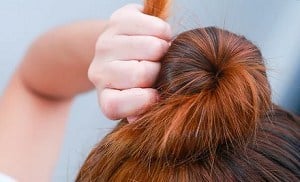
Step 2: Make Your Bun
Pull your hair into a ponytail and secure it with an elastic tie. To ensure that it is tight, you should wrap the hair tie around at least three times. Check that it is close to your scalp before moving on. Add an extra layer of support with another elastic hair tie.
Then, lift your ponytail up while twisting it with your fingers. Wrap what you have twisted around the base of your ponytail. Do this slowly and carefully so that it does not burst out and force you to restart. Once it is entirely wrapped, check that there are no bumps and loose strands.
Try shaking your head. If you feel like the bun is about to drop, use several bobby pins to keep it in place. At this point, you can put on a hairnet to make sure that your bun is secured. Otherwise, you can move on to smoothening away any stray hair with gel and spraying everything with hairspray.
If you suffer from very messy hair, look for a serum that tames your hair. Consider these products from well-known brands: Frizz-Ease and Redken Frizz Dismiss.
This is a good approach to making military buns. However, because your hair is damp, you can easily get moldy-smelling hair if you leave it wrapped for too long. Keep this in mind when going into missions or training without regular showers.
Other Things to Note
If you are thinking about going to the salon for a nice perm before enlisting, reconsider. Hairstyles with layers and bangs are much more difficult to handle in the military context. During rigorous training, no one cares if you have beautiful hair. They will, however, become agitated if it gets in the way. Trust me, no one appreciates crazy hair in the arena. If you want to impress, master your buns!
You should always have a good supply of elastic hair ties and bobby pins. They tend to disappear mysteriously when you need them. While training, it is also easy for them to fall off (Do not expect anyone to let you stop and pick them up!). You should have a lot of them handy to deal with your hair at any time, especially in the early morning when you are in a hurry to hit the field.
Conclusion
With that, you have reached the end of this article on how to make a military bun. Hopefully, it has been helpful. If you have any other questions or thoughts to share, leave a comment. We are always delighted to hear from our readers!

I am Everett Bledsoe, taking on the responsibility of content producer for The Soldiers Project. My purpose in this project is to give honest reviews on the gear utilized and tested over time. Of course, you cannot go wrong when checking out our package of information and guide, too, as they come from reliable sources and years of experience.